Works locally
The ESP32 controls the fridge and heater over its own private Wi-Fi network, even when the home router or internet is unavailable.
Local-first ESP32 controller
Turn a small fridge into an automated drying and curing chamber with an ESP32, a temperature and humidity sensor, a heat mat, and two Tasmota smart plugs.
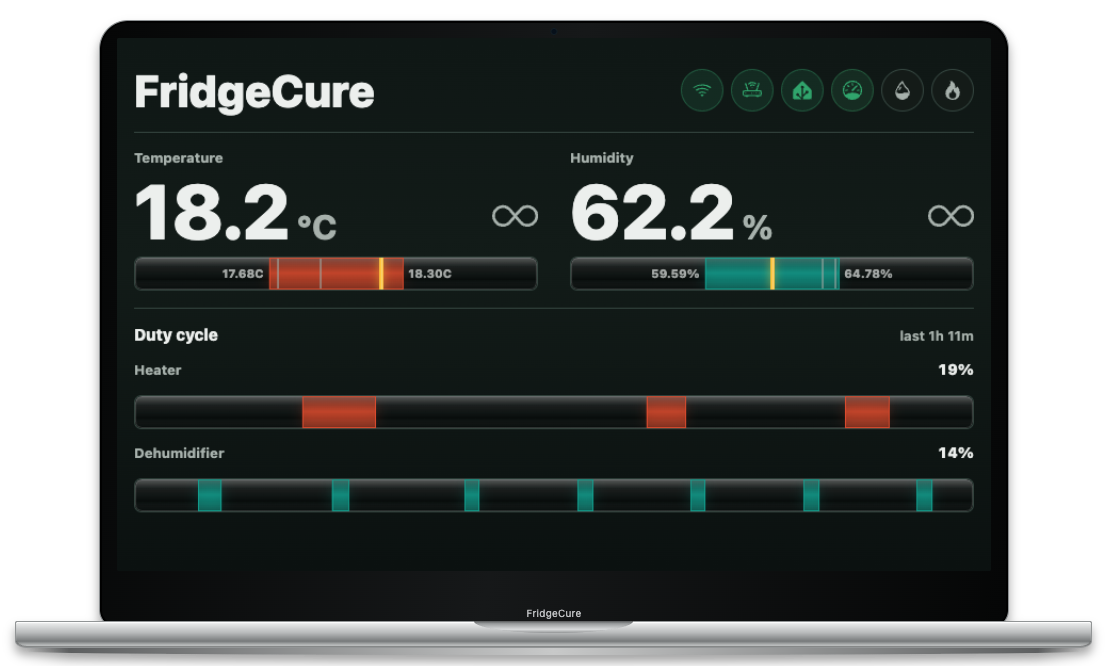
The ESP32 controls the fridge and heater over its own private Wi-Fi network, even when the home router or internet is unavailable.
Temperature and humidity control bands learn from real cycles to reduce overshoot and excessive compressor or heater switching.
Monitor readings, learned control bands, duty history, plug state, sensor health, Wi-Fi, and optional Home Assistant connectivity.
The practical chamber concept is inspired by Growtutorials' DIY fridge curing guide. That video is a useful reference for chamber layout, fan placement, and water management.
Open the interactive FridgeCure demo to explore the dashboard and settings without a device.
This project combines mains electricity, moisture, refrigeration, and heat. Test the system while you are present before leaving it unattended.
No software installation required
Use a desktop version of Chrome or Microsoft Edge and a USB data cable. Safari and Firefox do not currently provide the Web Serial support required by the installer.
Loading the firmware installer…
If connection fails while the existing firmware keeps printing messages, hold BOOT while choosing Connect and install and selecting the serial port. Release BOOT after chip detection begins. If necessary, keep holding BOOT, briefly press RESET/EN, and retry.
The normal installation preserves the settings storage area. Use Erase the entire flash first only for recovery or a deliberate factory reset.
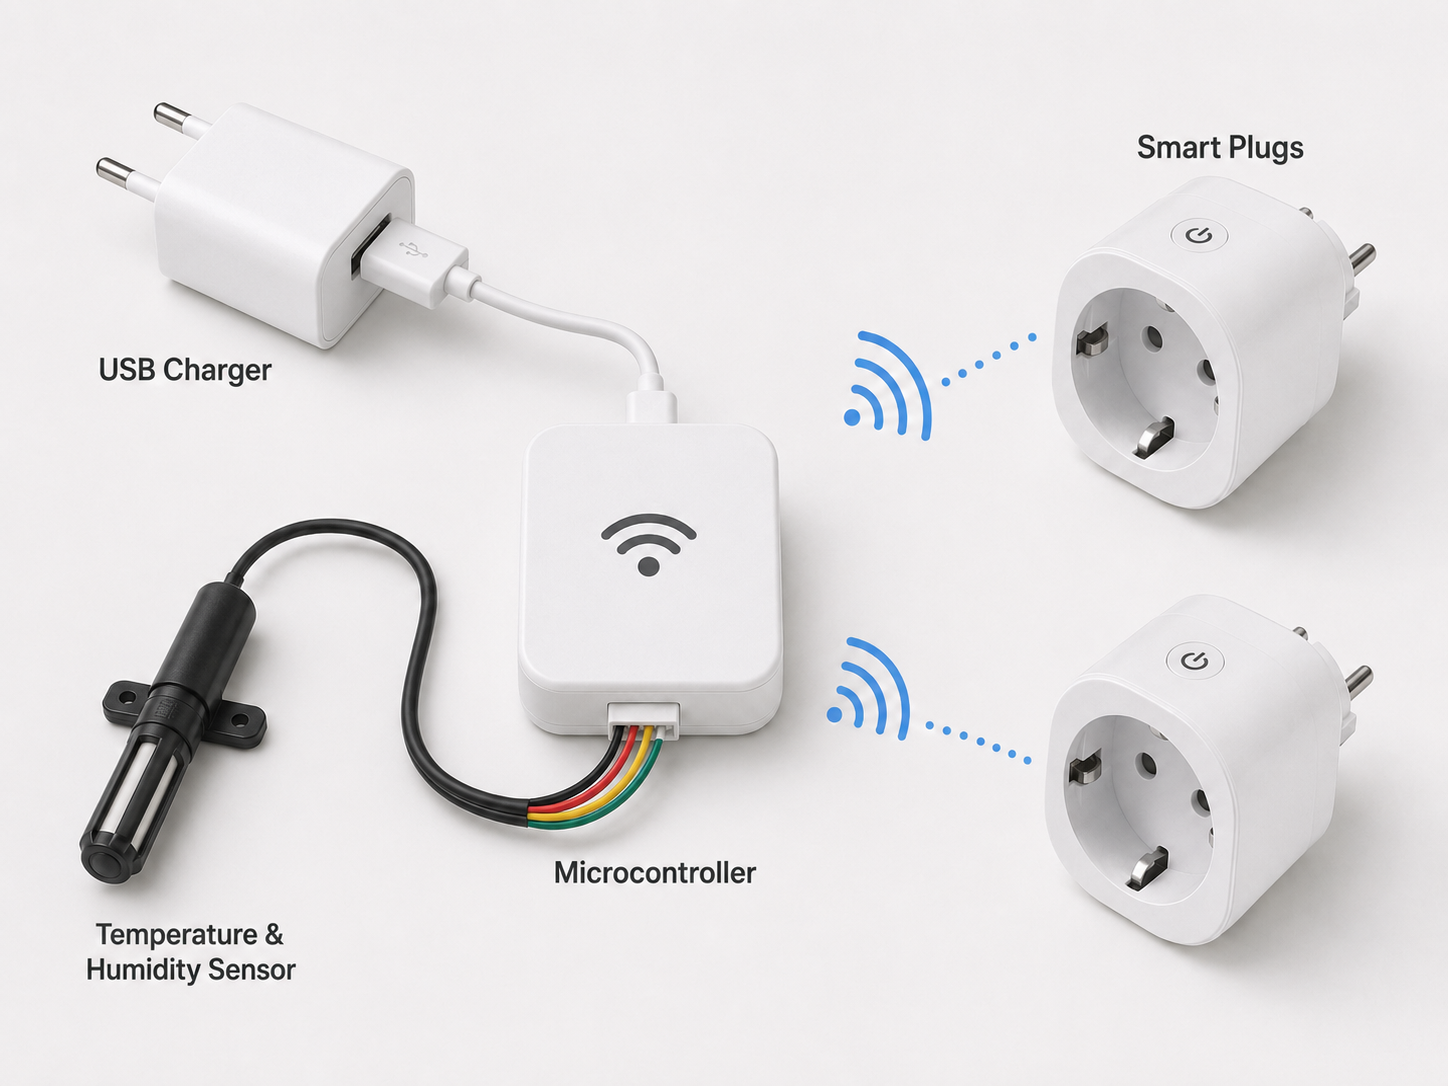
Illustration only: use cable lengths and enclosures appropriate for your chamber.
| Part | Quantity | Approximate price |
|---|---|---|
| Small fridge | 1 | 20–100 EUR |
| Supported ESP32 development board | 1 | 5–15 EUR |
| SHT41 or SHT31 sensor | 1 | 8–20 EUR |
| Tasmota smart plug | 2 | 15–25 EUR each |
| Seedling heat mat | 1 | 20–50 EUR |
| Small 5 V fan | 1 | 5–15 EUR |
Pre-flashed plugs are available from suppliers such as Athom's Tasmota range.
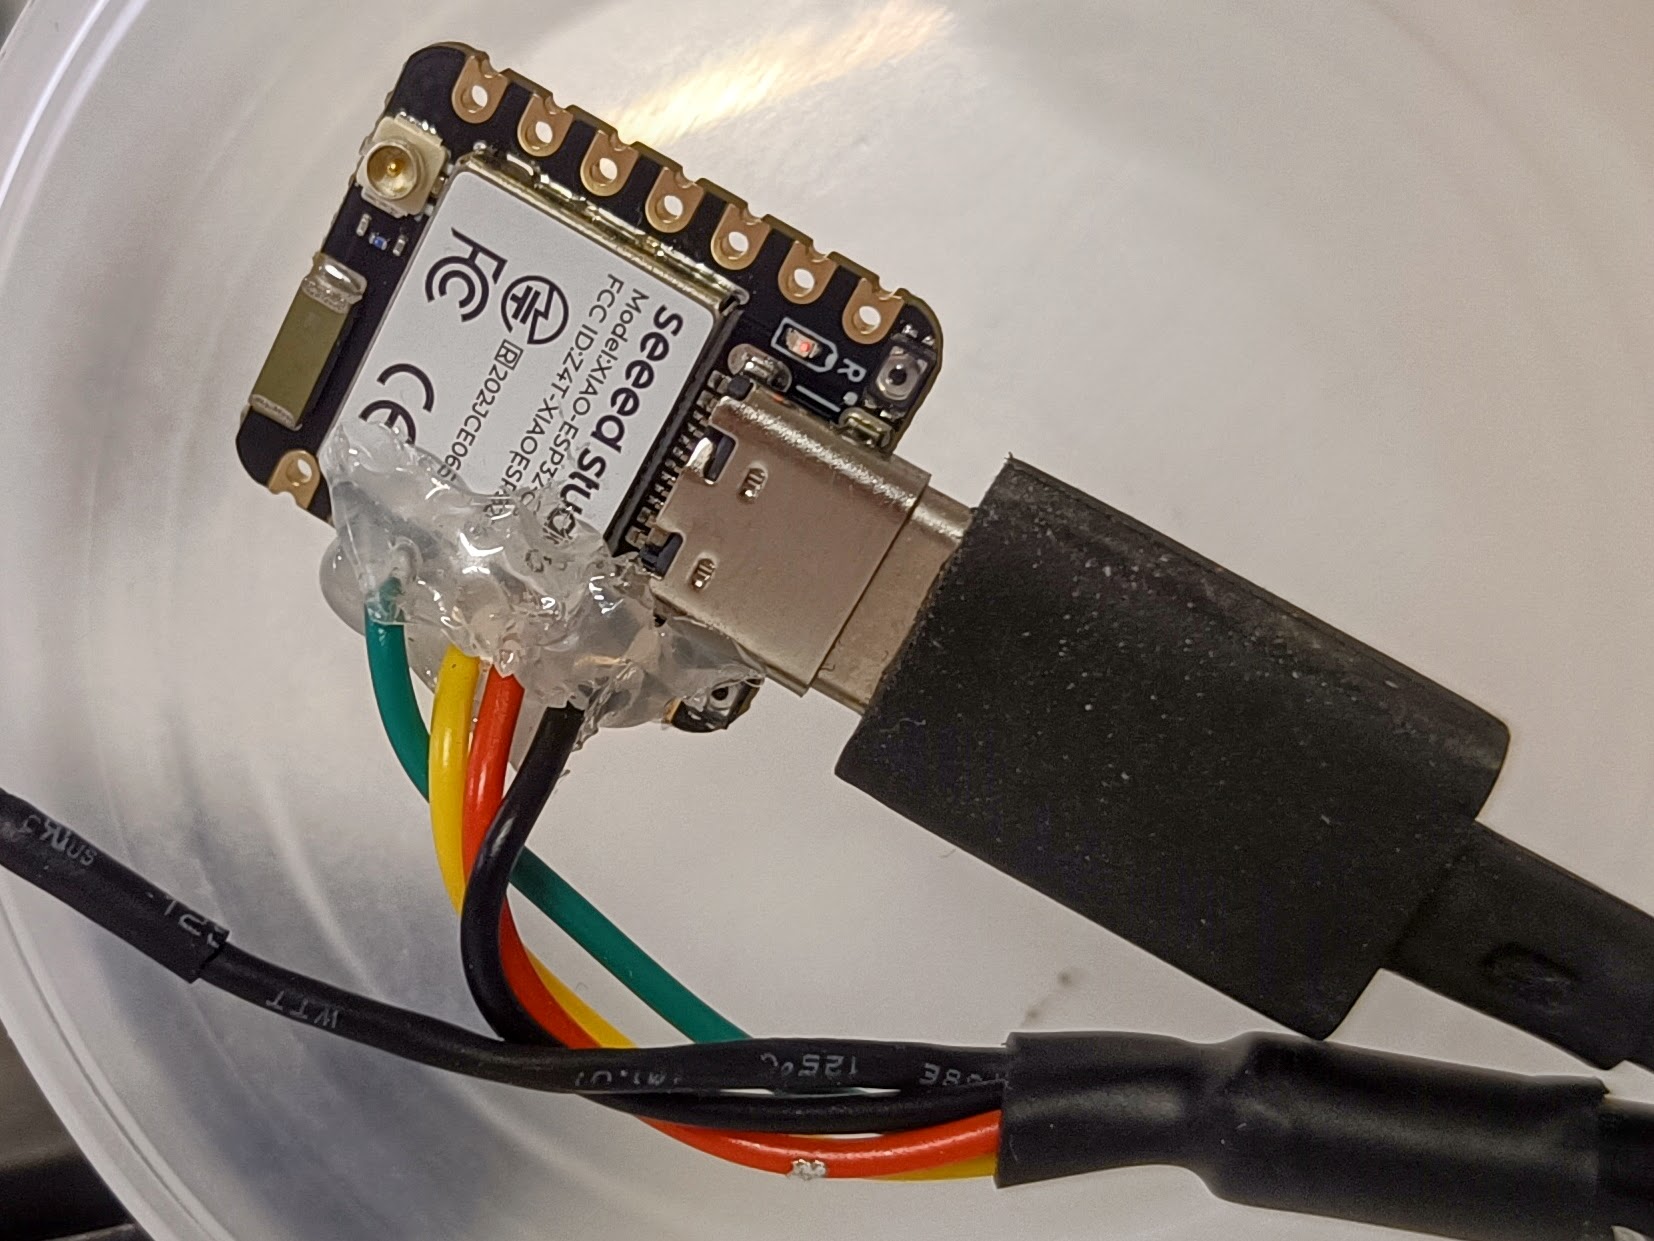
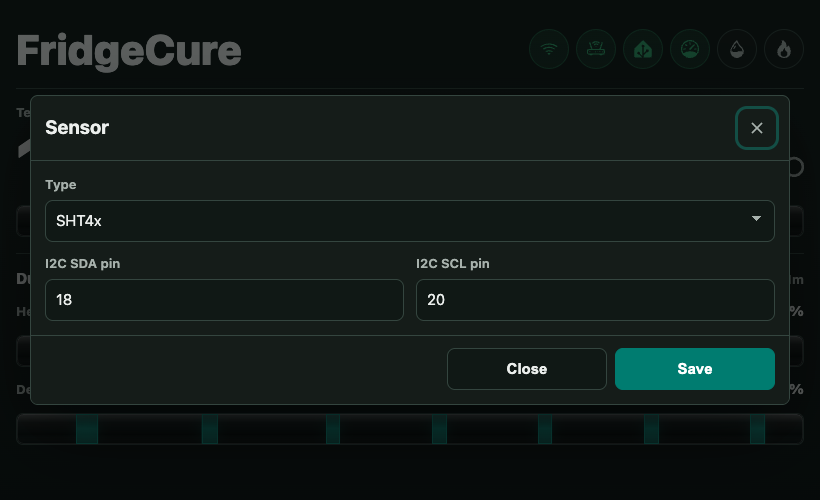
Turn off the ESP32 before wiring the sensor. Connect VCC to 3V3, GND to GND, SDA to the board's default SDA pin, and SCL to its default SCL pin.
| Board profile | SDA | SCL |
|---|---|---|
| ESP32 Dev Module | GPIO 21 | GPIO 22 |
| Seeed Studio XIAO ESP32C6 | GPIO 22 | GPIO 23 |
Hang the sensor in free air near the middle of the chamber. Keep it away from the cold wall, heat mat, direct fan outlet, and condensation.
FridgeCure using password fridgecure.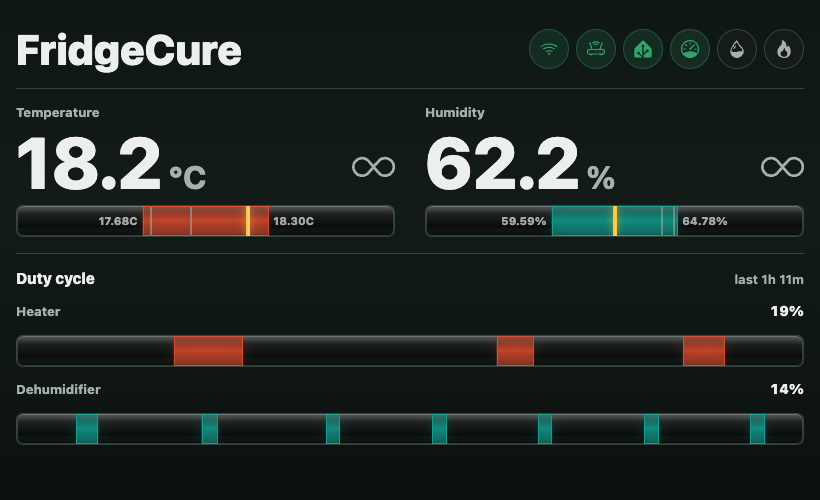
You can then use the displayed device IP. If the network supports mDNS, http://fridgecure.local may also work.
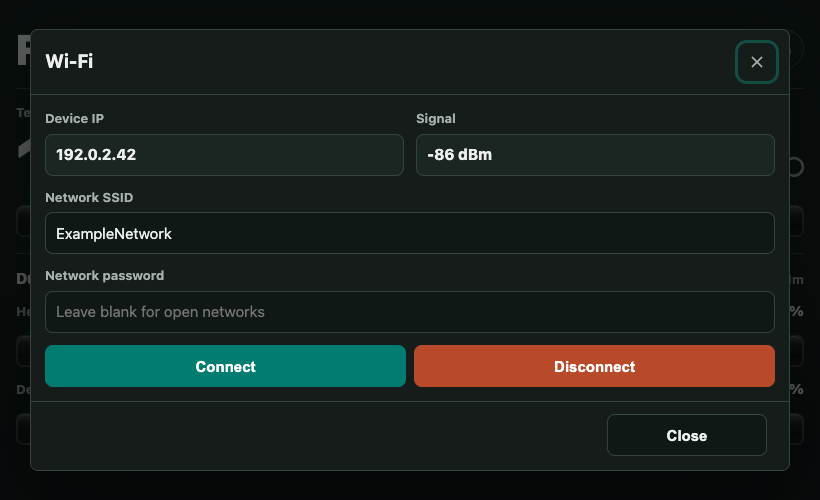
Use one plug for the fridge and one for the heat mat. Both plugs should join the ESP32 access point so control continues without the home network.
http://192.168.4.1.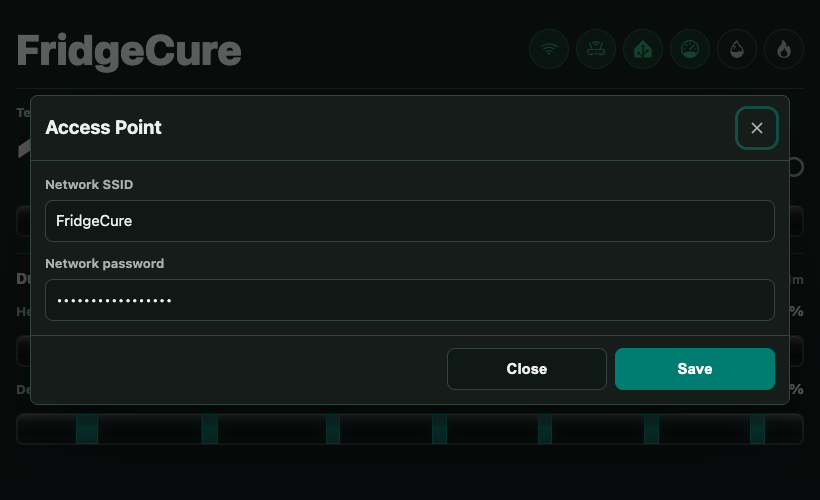
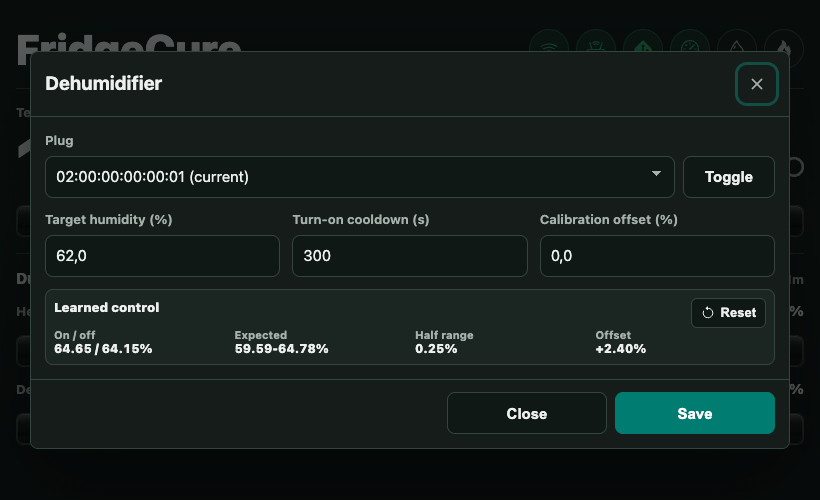
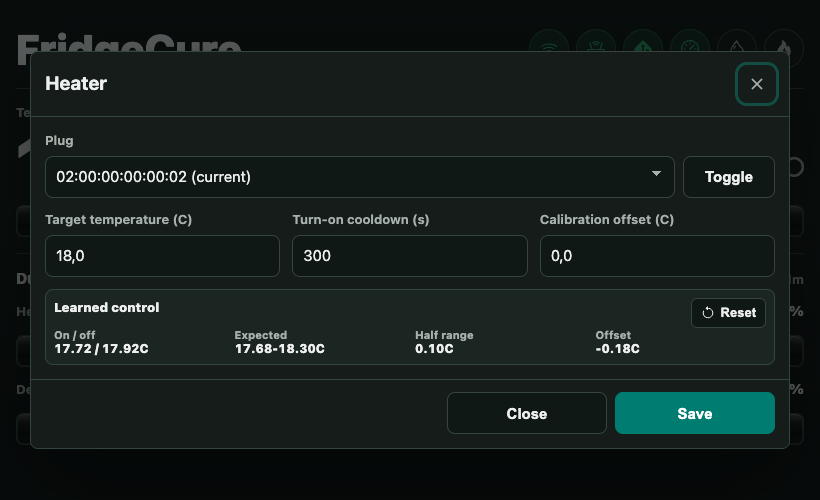
Good targets depend on the material, chamber, and ambient conditions. As an initial supervised test, 58% RH and 20 °C are reasonable example values—not universal curing advice.
The targets are averages rather than fixed switch points. FridgeCure learns a control band around each target and adjusts it after valid operating cycles. Watch the first cycles and confirm that the fridge reduces humidity, the heater raises temperature, the fan stabilizes readings, and the compressor does not short-cycle.
FridgeCure works without Home Assistant. MQTT discovery can add readings, targets, device activity, and sensor health to an existing Home Assistant installation.
homeassistant unless the broker uses another prefix.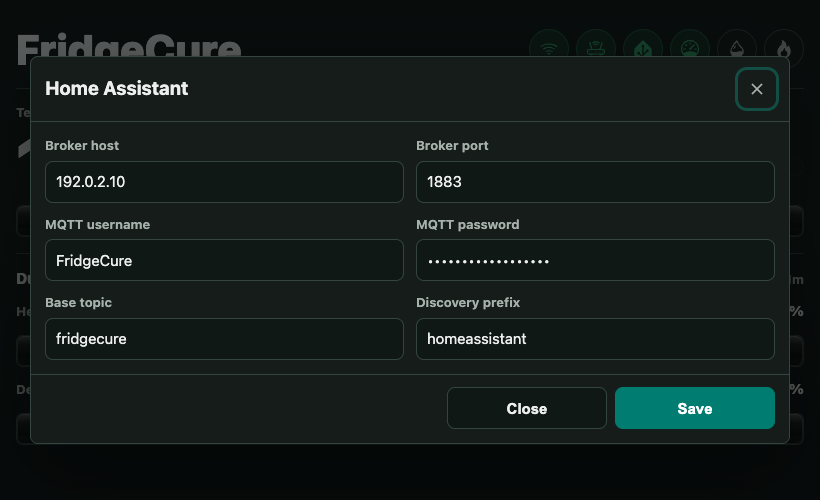
See the Home Assistant MQTT documentation for broker and discovery setup.
This is an experimental DIY controller, not a certified appliance safety system. You are responsible for electrical safety, food safety, process suitability, and supervision of your equipment.